- Joined
- Jun 27, 2017
- Messages
- 65
- Reaction score
- 6
- Location
- San Angelo
- First Name
- Loren
- Last Name
- Edwards
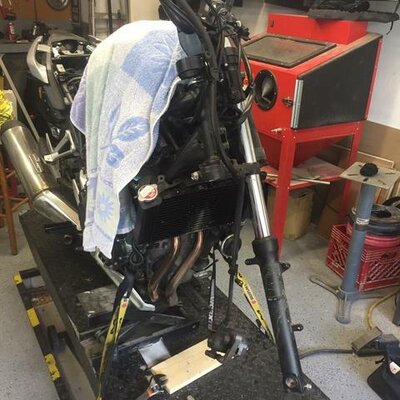
I just finished the installation of the Rally Raid stage 3 on my CB500X today. It was a fairly easy upgrade to do if you are considering it. I have a full shop of about every tool you can imagine. The kit is advertised as simple hand tools is all that are needed to install and I agree. I used my Craftsman tool kit in the plastic box that I carry in my truck for minor repairs. I grabbed a few metric ratchet wrenches to speed up the process in tight areas. I had to buy a motorcycle jack for the job. Harbor Freight to the rescue for a 65.00 jack with coupon. I started at 8:15 finished around 4:00. I had a short lunch break about 15 min or so.
I had installed the sump gaurd last week so I was a bit ahead of the game that took about 30 min to install. It really helps to have a flat surface to steady the bike. Rear shock install easy and straight forward. Only hiccup I had was I ordered an optional hydraulic preload adjuster. The kit didn't have a mount to secure the preload adjuster so I will need to fabricate a more permanent solution for holding the adjuster.
Front forks were easier than I had anticipated. I was a bit intimidated by this step since I had never taken a fork apart. I was fairly easy to do even though it was little messy. Front forks went fairly quickly 1.5 hrs from start to finish. The remaining time was spent installing new Fat bar system and moving all the controls over and rerouting the cables and hoses to they don't bind. I also installed steering damper pin for a Scotts damper in the future, and a few power ports for electronics. The most frustrating part of the entire job was getting the rear axle back thru the rear wheels the spacer inside the new rear wheel falls out of alignment and it's tough to hold the heavy rear wheel up and get the axle started and keeping the adjusters in place.
The Rally Raid parts are top notch and fit perfectly. I didn't have to adjust or fiddle with mis alignment in the pieces they all fit exactly like the stock part maybe even better.
No real ride info yet I follow up after I get a few miles on it. I will say if you are vertically challenged like I am 5'5" 30" inseam. I can only get my toes on one side down. It's taller than my crf250L. So if you like to flat foot maybe stay with the stage 2 with stock length suspension and stock wheels or splurge for the new 17" front and rear spoke units.


 Feel free to hang out and lurk as long as you like. However, we would like to encourage you to


