Feel free to hang out and lurk as long as you like. However, we would like to encourage you to
 rshadoan
0
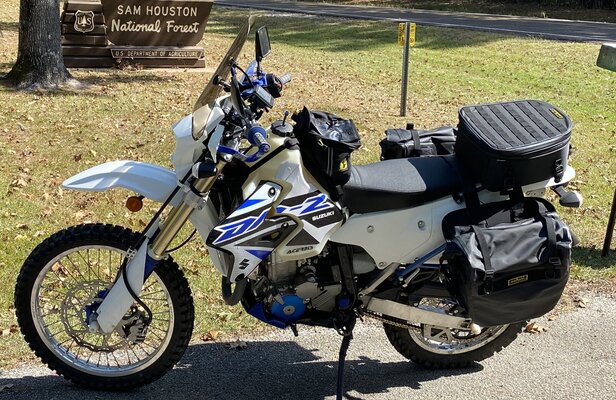
That is the same tank i have. I am guessing most people do not check the snubbers. With the seat off...and the radiator shrouds off...and the tank properly bolted at the rear. Lift up on the front of the tank...It “WILL” move, and cause the rear bolted section to flex. It you install the metal tank..and bolt it down...the snubbers properly secure the front of the tank, you can pull up on it and it wont move. Everyone always says..”it goes on easier than my stock tank.”. Which it does..because its not being secured at the front. The black round snubber is not engaging the grooves in the tunnel of the tank.Tank was a good fit. For the stock seat insert to slide into the metal plate on top of the tank I had to drill out the plastic hole for additional space. Wasn’t bad. Intending to order an aftermarket seat to replace this 2x4